Ingredients
Equipment
Method
Step: 1 — Prep the Pan & Crust
- Line a 24-cup mini muffin pan with paper liners.
- In a bowl, combine crushed vanilla wafers, melted butter, and salt until the mixture resembles damp sand.
- Divide evenly among liners (about 1 tablespoon each) and press firmly with the back of a spoon. Chill while you make the filling.
Step: 2 — Bloom & Melt Gelatin
- Sprinkle gelatin over cold water in a small heatproof bowl; let stand 5 minutes to bloom.
- Gently warm the bloomed gelatin in the microwave for 5–8 seconds (or over a hot-water bath) until just dissolved. Let cool to lukewarm—fluid but not hot.
Step: 3 — Make the Cheesecake Base
- Beat softened cream cheese, sugar, and salt on medium speed until ultra-smooth and no lumps remain, 2–3 minutes. Scrape bowl.
- Mix in cotton candy flavoring, vanilla bean paste, and lemon juice.
- With mixer on low, stream in the lukewarm dissolved gelatin and mix until fully incorporated.
Step: 4 — Whip & Fold
- In a separate bowl, whip cold heavy cream to medium-stiff peaks.
- Fold whipped cream into the cheesecake base in two additions until fluffy and uniform, keeping as much air as possible.
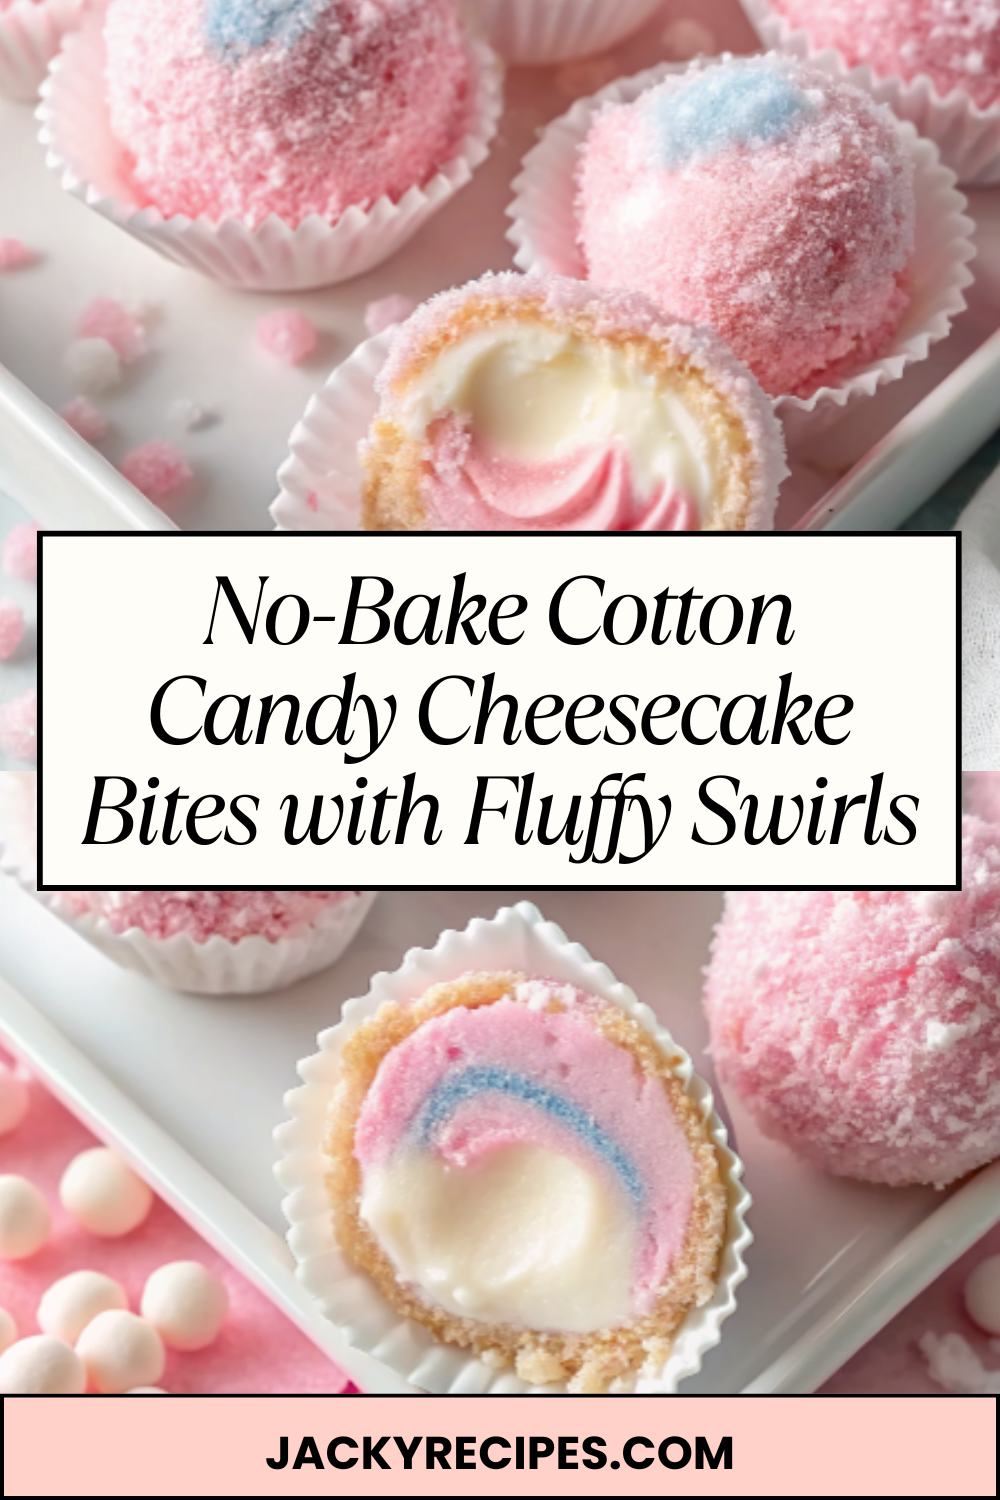
Step: 5 — Color, Swirl, and Fill
- Divide filling into two bowls; tint one pink and the other blue with gel coloring, one drop at a time.
- Spoon or pipe alternating dollops onto each crust, then swirl gently with a toothpick for a cotton-candy effect.
- Chill until set, 2–3 hours, or until a finger pressed lightly leaves a slight impression.
Step: 6 — Garnish & Serve
- Just before serving, crown each bite with a tuft of cotton candy and a pinch of sprinkles.
- Peel liners and serve cold for the fluffiest texture.
Notes
🍽️ Servings & Timing
Yields 24 mini bites. Active prep: 25 minutes. Chill time: 2–3 hours. Best served within a few hours of adding cotton candy.
🧊 Storage & Reheating
Refrigerate bites (without cotton candy) in an airtight container for up to 3 days. Add cotton candy right before serving to prevent melting. For longer storage, freeze (ungarnished) up to 1 month; thaw in the fridge overnight before topping.
🥄 Variations
Swap vanilla wafer crust with graham crackers or golden sandwich cookies. Try lavender or strawberry flavoring in place of cotton candy, and tint to match. Add a thin layer of melted white chocolate over the crust before filling for extra snap.
❓ 10 FAQs
Q1: Can I make these without gelatin?
Use 1 1/2 teaspoons powdered agar and simmer briefly to activate; texture will be slightly firmer.
Q2: Do I need a mini muffin pan?
You can use silicone candy molds or 8-ounce jars; adjust chill time and portion size.
Q3: Why add lemon juice?
A touch of acidity brightens sweetness and balances the cotton candy flavor.
Q4: How far ahead can I make them?
Assemble up to 2 days ahead without topping; add cotton candy just before serving.
Q5: My filling is grainy—what happened?
Either the cream cheese wasn’t fully softened or gelatin cooled too much and set; ensure smooth base before adding gelatin.
Q6: Can I color the crust?
Yes—stir a drop or two of gel coloring into the melted butter for a pastel crumb.
Q7: Are they gluten-free?
Use certified gluten-free cookies for the crust and verify all labels.
Q8: Can I make them dairy-free?
Use dairy-free cream cheese and whip a plant-based whipping cream; set with gelatin alternative if needed.
Q9: How do I keep swirls clean?
Pipe in alternating colors and swirl minimally with a toothpick for distinct ribbons.
Q10: Will cotton candy melt on top?
Yes if it sits too long; add right before serving and avoid humidity.
🏁 Conclusion
Whimsical, creamy, and party-perfect—these cotton candy cheesecake bites deliver big nostalgia in tiny swirls. Make ahead, swirl with joy, and share the magic!